Environment production planning
Game Environment Design Brief: What to Define Before Production
Turn a world reference into a playable, measurable environment scope before detailed art consumes the budget.
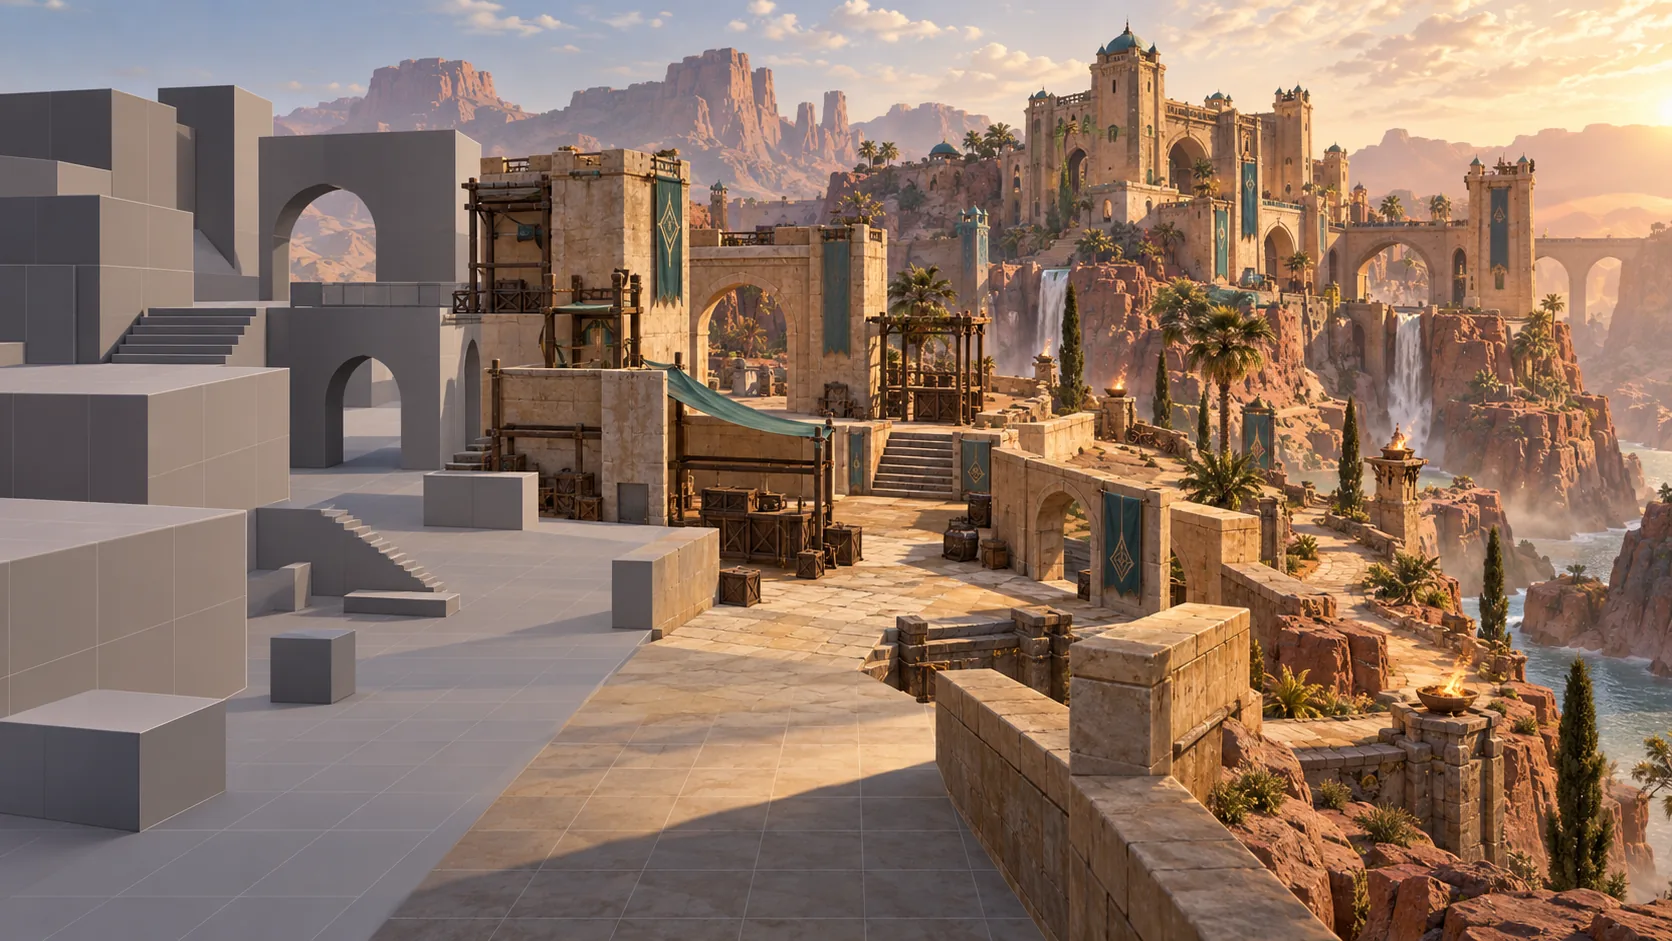
Short answer: a useful game environment design brief defines how the space plays before it describes how the space looks. Approve the camera, player scale, traversal metrics, greybox route, modular kit, asset list, interaction points, material limits, collision, lighting assumptions, LODs, target hardware, and acceptance evidence. Then the art team can price a specific production system instead of guessing from a mood board.
This guide is for an owner commissioning a 3D environment for a real-time game. It is not a course or portfolio guide, and it does not replace the wider decision about whether to outsource an entire asset batch. For supplier sampling and batch approval, use our game art outsourcing guide. Here we focus on the environment contract that the selected team must build and hand over.
Start with play space, not finished scenery
State the game genre, camera, player dimensions, movement speeds, jump or climb rules, combat range, interaction distance, vehicle size, number of simultaneous players, and target session length. These inputs shape corridor width, cover spacing, door height, landmark visibility, streaming divisions, and the amount of repeated geometry the player will notice.
A third-person combat arena, a top-down mobile map, and a first-person exploration level can share the same visual reference while requiring different geometry. If the brief says only “a large stylized desert city,” each bidder will imagine a different playable area and the estimates will not be comparable.
Approve a greybox with measurable decisions
The greybox is the cheapest place to test scale and route. Ask for simple geometry that represents the playable footprint, primary path, optional routes, vertical changes, entrances, exits, cover, interaction zones, camera constraints, and important sightlines. Temporary shapes are enough if their dimensions are intentional.
Review it in the intended camera and movement controller, not only from a free editor camera. Record the build and revision that were approved. If art production starts before the layout is accepted, later gameplay changes can force remodeling, new UVs, lighting changes, collision rework, and repeated decoration.
Define the modular kit before counting assets
An environment is usually more than a list of unique models. A modular kit can include wall lengths, corners, floors, ceilings, stairs, doors, trims, roof pieces, supports, terrain transitions, prop families, decals, and controlled variations. Name the grid size, snapping rule, pivot convention, orientation, scale unit, allowed combinations, and which pieces must hide seams.
| Area | Decision to approve | Acceptance evidence |
|---|---|---|
| Play space | Camera, player metrics, route, sightlines, interactions. | Playable greybox in the target controller. |
| Modular kit | Grid, pivots, dimensions, variants, seam rules. | A test room assembled from delivered pieces. |
| Surfaces | Material families, texture sizes, tiling, decals. | Approved materials under representative lighting. |
| Runtime | Collision, LODs, occlusion or streaming assumptions. | Named test scene and target-device evidence. |
| Handover | Source files, exports, scene structure, licenses. | Clean import into the agreed Unity version. |
Do not compare proposals by raw asset count alone. One supplier may count a building as one asset, while another counts every wall, trim, door, material variation, and LOD separately. Compare the kit definition and the finished test assembly.
Separate the asset matrix from the visual reference
Create an asset matrix with a stable ID, category, quantity, approximate dimensions, reuse level, interaction, damage or animation state, material family, LOD need, collision type, source format, final format, and approval stage. Mark hero assets separately from repeated background pieces so effort is spent where the player will see it.
A mood board can guide shape language, color, age, materials, density, and lighting, but it does not define ownership or technical scope. Identify which references are inspiration only, which features are required, and which third-party assets or textures may be used. The final handover must include the applicable licenses and restrictions.
Lock scale, pivots, names, and export rules
State the world unit, up axis, forward axis, origin convention, pivot placement, naming pattern, folder structure, mesh separation, transform policy, and export format. These details decide whether pieces snap together and whether later revisions replace the correct asset instead of creating duplicates.
Unity’s model import documentation explains that model files can contain meshes, rigs, animation, materials, and textures, with import settings controlling how Unity processes them. The brief should name the required file contents and import result; “FBX included” alone is not a handover standard.
Specify materials as a system
Decide the render pipeline, shader family, material instances, texture channels, texture size classes, texel-density targets, tiling rules, trim sheets, atlases, decals, vertex-color use, transparency limits, and whether baked maps or source texture files are required. Repeated surfaces should share a deliberate system rather than accumulating nearly identical materials.
Ask the team to demonstrate the material set under representative lighting before completing every asset. This exposes scale inconsistency, roughness mismatch, visible repetition, expensive transparency, and unreadable color values while correction is still contained.
Treat collision and navigation as deliverables
Visual geometry is not automatically suitable for collision. Name which objects block the player, camera, projectiles, AI, or vehicles; which surfaces can be climbed; and where simplified collision is required. Define tolerances around doors, stairs, slopes, railings, small props, and moving elements. If navigation data or markers are in scope, identify who owns generation and validation.
Acceptance should include a traversal pass with the real controller. Inspect stuck points, invisible barriers, unintended shortcuts, camera clipping, step height, slopes, spawn clearance, and interaction reach. A beautiful fly-through does not prove the space is playable.
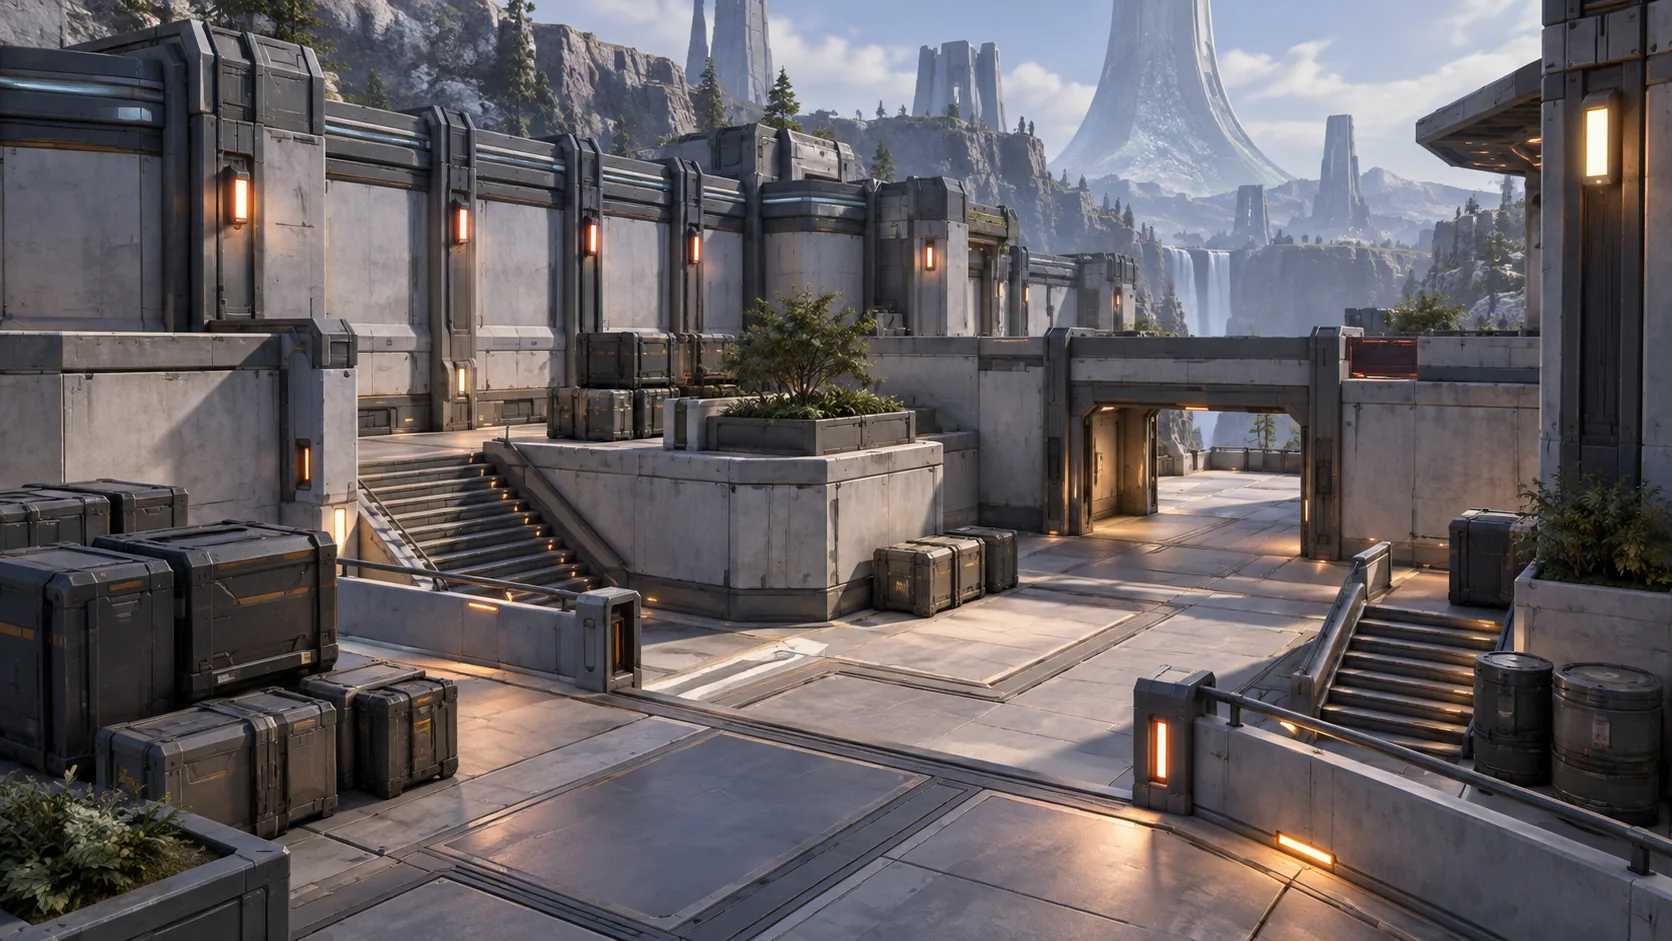
Set the performance budget before the final pass
Name the lowest supported device or hardware tier, target resolution, frame-rate target, test camera path, and the profiling build. Then agree which indicators the environment team must report: visible geometry, material and shader count, texture memory, lighting cost, shadow settings, overdraw risks, collider complexity, and scene-loading behavior. The exact limits depend on the project; they should not be invented after production.
For objects that remain visible across distance, define LOD coverage and transition review. Unity’s LOD Group documentation describes switching renderers according to their on-screen size. Your acceptance criteria should still identify which objects need LODs, the expected silhouette at each stage, and how transitions are checked from the gameplay camera.
Review lighting with its production assumptions
Specify time of day, weather variants, indoor and outdoor transitions, dynamic lights, baked lighting expectations, lightmap responsibilities, reflection or probe needs, emissive surfaces, shadow distance, and whether lighting belongs to the art delivery or the integration team. A lighting reference without the target render pipeline and hardware leaves cost and appearance unresolved.
Approve a representative slice containing the hardest surfaces, depth range, moving elements, and lighting transition. If the project needs several times of day, clarify whether that means separate baked sets, dynamic changes, color grading only, or a different system.
Use staged acceptance instead of one final reveal
- Brief and reference: purpose, camera, platform, style, kit, asset matrix, exclusions.
- Greybox: route, scale, metrics, interactions, sightlines, and controller test.
- Kit test: snapping, pivots, seams, naming, materials, and one assembled room.
- Production slice: final-quality assets, lighting, collision, LODs, and target-device profile.
- Full scene: completeness, repetition control, navigation, loading, and performance evidence.
- Handover: source files, exports, Unity scene, documentation, licenses, and known limits.
At each gate, record the submitted revision, the review environment, accepted items, corrections, and changes that alter the original scope. This separates a defect from a new request and prevents informal feedback from silently rewriting the production target.
What should the final handover contain?
Request the editable source scenes, exported models, source and final textures, material setup, approved render-pipeline configuration, modular-kit guide, asset matrix, scale and pivot rules, collision assets, LODs, prefabs, test scene, lighting data in scope, build or import instructions, third-party licenses, and a list of known limitations. Keep service credentials and store accounts under the buyer’s ownership when external systems are involved.
Open the handover in the agreed Unity version on a clean checkout. Reimport the assets, assemble a small area from the kit, run the gameplay camera and controller, and compare the result with the accepted build. A folder of source files is useful only when another team can reproduce the scene.
Scope an environment your game can actually use
Send us the game reference, camera, target devices, greybox or map, visual direction, and the environment area you need to prove first. We can turn them into a modular production scope and an engine-ready acceptance plan.
Explore our 3D game art service — request an asset quote — send the brief on WhatsApp
Game environment design questions
What should a game environment design brief include?
Include the camera and traversal rules, playable dimensions, greybox, modular kit, asset matrix, visual references, materials, collision, LOD and lighting requirements, target hardware, acceptance evidence, source files, and engine handover.
Should I approve the greybox before environment art?
Yes. Approve the route, scale, sightlines, interaction spaces, camera behavior, and gameplay metrics before detailed art. Otherwise attractive assets can lock in a level that does not play correctly.
How do I know a game environment is ready for Unity?
Test the agreed scene in the named Unity version on target hardware. Verify scale, pivots, materials, collision, LOD transitions, lighting, navigation, naming, source files, licenses, and performance evidence against the approved brief.